
How often do you lather up your makeup brushes? Can't remember? We've been there.
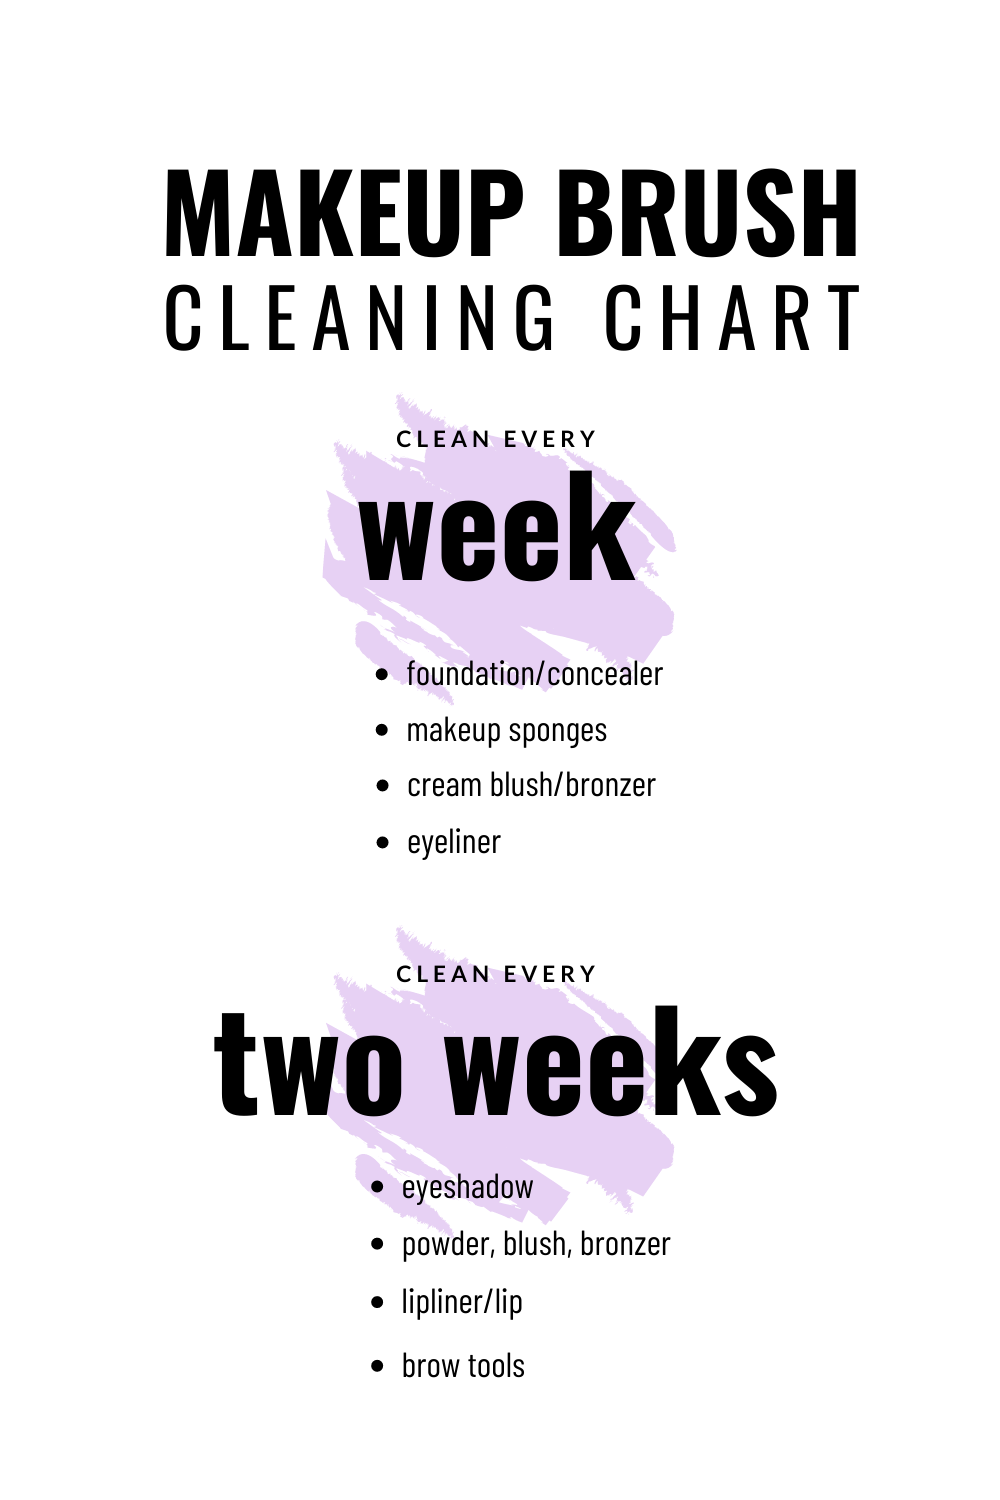
Did you know you should be cleaning them weekly? Although that may seem like a lot, think about the buildup of dirt and oils that accumulate... ick.
Something is hiding in your brushes....
Why do I need to wash my brushes weekly? Isn't that excessive?
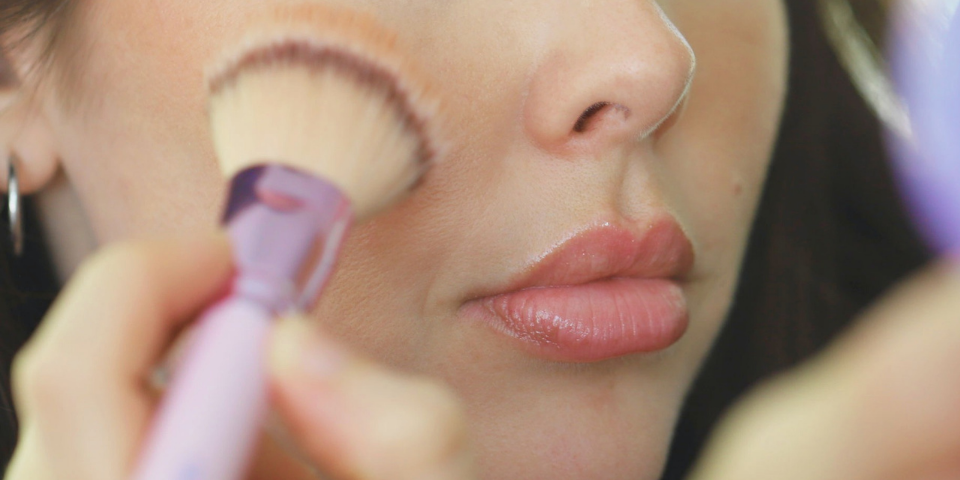
Your complexion brush is to thank for your flawless face applications, but product buildup in the bristles could be causing a hindrance in performance. As more time passes between each cleaning, foundations, creams, and other favorite products can get stuck in the fibers. This can cause the finish to become less than perfect, which... let's be honest, n-o-b-o-d-y wants. Your makeup tools should be doing the blending work for you, not slowing down your routine.
Besides the performance, the buildup of bacteria (and other fun things!), also remains. We'll just come out and say it: germs thrive in moist environments. Your foundation brush is more likely to cling to the dirt and oils we mentioned before, than say, a dry powder brush.
Essentially, with excess bacteria, can come excess... uh, breakouts. Grime can cause irritation, redness, and overall unpleasant roughness to your skin. Though it's dire you set aside time to clean your makeup brushes and tools, it's not as taxing as you may think. Here's our favorite method to scrub the product out...
...and it may be more satisfying than you imagine.
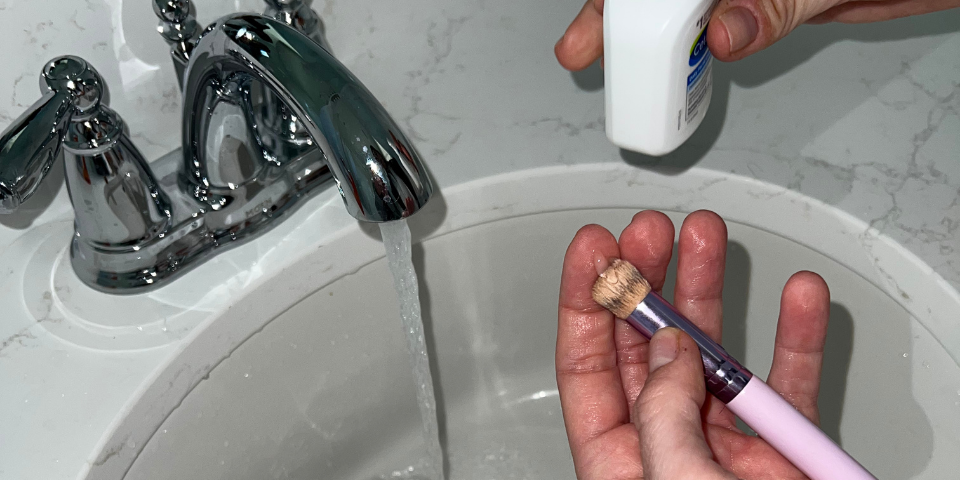
Step 1: Choose your cleanser
The right soap can immediately combat bacteria and buildup.
Did you know it can be found in your own home? No need to run out and buy something! We love to use a gentle face cleanser, like CeraVe Daily Facial Cleanser. A great general rule of thumb is: if you're using it on your skin already (AND it's cleaning it), you can use it on your brushes.
You can also use gentle dish soap, such as Dawn, in a pinch as long as it's free from dyes or fragrance.
We recommend straying away from conditioners, as they coat the fibers in silicones. This can cause breakouts and can be irritating. Products that are silicone and sulfate-free will do the trick if you have sensitive or reactive skin.
Step 2: Rinse your brush and apply the cleanser.
Wet your bristles (no need to submerge your whole brush) under lukewarm or warm water.
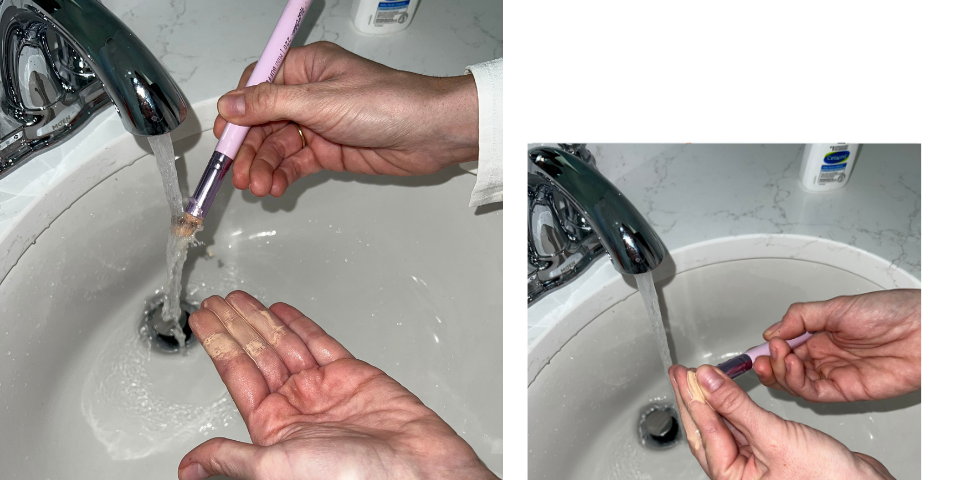
Add a drop of cleanser to your hand, or directly onto the brush until all of the hairs are fully saturated.
Swirl and squeeze the product out of your brush as you run it under the water.
Repeat as necessary until your brush hairs are clean. Remember to turn the faucet off after each use!
Step 3: The aftermath.
We created our makeup brushes because we know how expensive it can be to find quality products that last. Germs aside, taking the time to clean helps carry your tools through many years of use.
Half Caked's multi-use products are focused on professional quality and are easy to use.
We're glad that you found us, and hope you’ll enjoy our products as much as we do!